Tuesday, December 12, 2017

The End of the Blue Carpet: Part 1

A project that took three year of planning and saving has begun! Behold...the death of the blue carpet!! It's hard to convey my excitement. It's just going to look so AMAZING. 

First, let's take look at what we were starting with. 

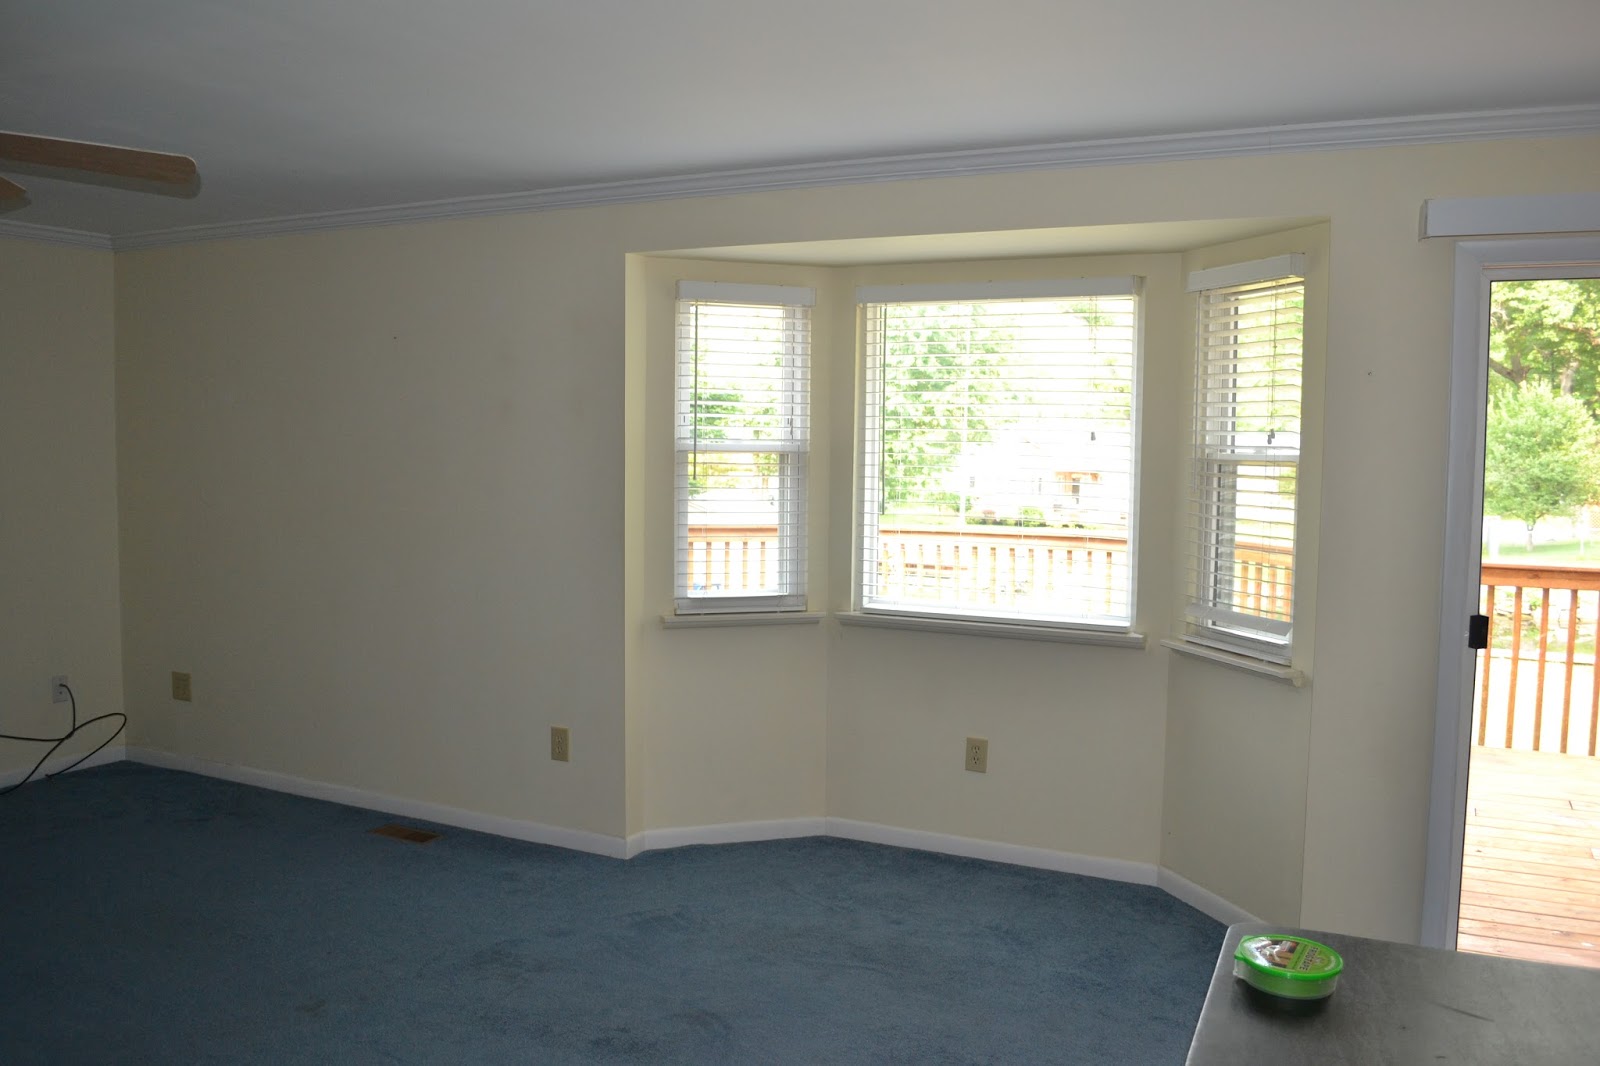
Family Room on move in day.
Before the fireplace renovation, the paint and the fan replacement. 

Bay window in the family room.

Kitchen on move in day.
Notice the blue carpet and the odd tile cut out. 

Office on move in day.
Those curtains and drapes are long gone.
The carpet had started to pull up and had a lot of bumps. 
View from family room into hallway toward the office.
We widened the doorway last year. 


Now, let's move on to the demolition and some of the installation. The carpet was easily removed since it didn't seem to be installed properly anyway. D leveled the floor with liquid self-leveling compound. The walls were patched and are in the process of being painted.

Carpet removed. Leveler applied. Underlayment (gold) being installed. 

Time capsule: wallpaper under the trim in the office

The floor between the hallway and the family room was terribly uneven. There was a large "hump" in the doorway which we thought could have been because of the addition and needing to join two floors. Nope, the previous contractor took shortcuts and shimmed the floor up instead of properly installing the subfloor. Very typical for this house. We spend a lot of time correcting shortcuts. 


Beginning to remove the floor "hump"

Time capsule: tile under the laminate in the hallway
Time capsule: floor under the laminate

Self leveling liquid in the hallway. We couldn't use the
hallway for 24 hours, so we had to use the doorwalls to
run around the house to get to the kitchen! 

Removing the blue carpet in the family room.
We even had a little helper for one evening!

Pergo flooring going in. "Manor Hickory" color. 


The new floor is awesome for sliding in your socks! 

We're a DIY project house so things take a bit longer than hiring them out but I know they will be done correctly and completely. We've had to fix so many errors and shortcuts in this house, hiring contractors will be a last resort. So, for now, we have our furniture stacked everywhere but everyone is adapting and adjusting.

All of the office is now in the front room.


Furniture moving around is an adventure. 
It won't be long now. Even as I'm writing this, the family room, kitchen and hallway are done. The blue carpet is gone for good. The office needs another coat of paint and few planks, then the furniture can be swapped out of the front room. On the calendar is a trip to Ikea for a new office furniture set up. Only one more room to tear up, level and install! I anticipate it will be done before the end of the year...it's so exciting! 


Thursday, October 26, 2017

Front Door Replacement *Updated Summer 2018*

D has been working diligently on finishing the two year long project of replacing the deck boards with Trex. I am happy to report that it is soooo close to completion. I don't want to do a post on it just yet- I'm hoping for a long post and the final reveal.
Meanwhile, D sacrificed a Saturday morning and part of the afternoon to install the new front door while I was on baseball duty. I did the color choice and the painting; he did the installation. 

We've never been in love with the front door and we both hated the lack of privacy. I hated sales people being able to see inside the home from the front porch and I hated feeling like I had to open the door once they saw me. We've also had a neighbor innocently peering through the door. She was delivering treats for the boys, but still... 
Plus, the gold/bronze flowers in glass were not exactly our style either. Time for an overhaul. 

Move in day

Inside view from move in day.
Feels really long ago- paint is different,
carpet replaced, curtains gone. 

I also hate the utility boxes on the front porch. There is not much we can do about them. We can't paint them because they're on the brick and that would be tricky to match. The best we can do is try to hide them.
Artist rendering :) Concept art

Without any more delay...the final product...


New door with glass only at the top to let some light in. When we can, we try to re-purpose the old items. In this case, I repainted and refreshed the porch lights. We tried to save the old storm door but there was a spacing problem with the storm door handle and the deadbolt. Each handle was permanently fixed in place and they kept hitting each other. We opted to replace the storm door with a darker color and D was able to attach the new handle in a way that provided enough clearance. I hate to get rid of usable items, but in this case it couldn't be avoided and upgrading from the white door was an improvement on the overall look. Our front door has already been picked up by someone who saw it at the curb...hopefully the storm door will be picked up as well.   


I got a Cricut for my birthday and I've been making all kinds of decorative signs.
I may be out of control.  :)


I'm also really proud of this wreath. Inspiration from Pinterest, made by me.


With regards to the ugly utility boxes, we took some of the old deck wood and made a type of "pallet" screen. I'm hoping to hang a planter on it during the spring and Christmas decorations during the winter. It's not perfect but it sure beats the spider covered boxes and wires. 


Another project completed! I love the results. What's up next, you say??? 
Well, a shipment just arrived and we stacked it in the front room.... Can't wait!!!  


Project: 2017/2018


*** Edit: Summer 2018. ***

Here is the pallet style screen covering the utility boxes with new summer decorations.
Move in day


Summer 2018

Wednesday, June 28, 2017

Mud Room Upgrade Final (...for now..)

With an exception of a few "tweeks" left in the mud room, I'd call this project complete. 


Move In Day (so many doors!)

For a review, here's what we did....
  • Removed door and trim adjoining mud room and kitchen
  • Added tile flooring
  • Swapped the oak flat-panel closet doors for white six-panel doors
  • New white closet trim
  • New paint (same color as the rest of the main floor)
  • Added custom bench, shelving and trim
  • New light fixture
  • Added wall hooks for jackets


Flooring done, wall taped off to visualize hook spacing

Closet: Final View


Final view
The bench provides a nice area to sit while putting on your shoes. It's also a great place to leave your purse or to stack up science projects/baseball gear/library books so they're ready to go out the door with you in the morning. Everyone has their own "zone" and a place to leave their daily jacket. Other coats are kept in the closet.


The shelf was placed near the ceiling so that we didn't block the window. Its tall but perfect for beach towels, extra mittens or other items you don't need on a daily basis. Eventually we'll move the adult hooks up higher toward the shelf but we installed them before we had all these great plans. The boys hooks are perfect for them to reach right now and we'll move them up as they grow. I'm very pleased with the final results- it feels spacious and functional!


          Before
After

Sunday, June 25, 2017

Deck Overhaul: Phase 2

The second phase of the deck overhaul has begun. If you remember from my previous deck post, we made the decision to split the huge deck into a two year project to better manage the cost and time commitment. The dining area and the stairs were completed last year while the doorwall space and the sitting area will be completed this summer.

The original deck:

Move In Day


Phase one of replacing the stained wood with Trex decking and glass railings:


Removing the walkway along the side of the garage, reinforcing the supports:

Garage walkway "before"


Dark Trex along the edges with a lighter brown plank:
Trim around the bay window


Fixing the uneven spacing of the planks so that all boards are in long, symmetrical runs:

Boards butted up to each other with uneven spacing (upper right)

Straight runs of long boards
 
Eventually one long visual line from one
end of the deck to the other


What do you do with all your scrap wood?? Give the shorter pieces to your family so they can build a dock at their pond. With the longer pieces...build a tree house!!


Sunday, April 2, 2017

Mud Room Upgrade

One thing we enjoy about this house is having a dedicated mud room. It's nice to have a spot to drop coats and backpacks before entering the kitchen. It is not a huge space, but it is functional.

It is difficult to take photos of this area because it's so narrow. 
When we moved in we immediately removed a door that separated the mud room from the kitchen. It was not needed and it made the room feel even more tight than it is.  
You can see it just a little bit on the left in the "before" photo. 

Move in day

We replaced the linoleum flooring with the same tile we used the powder room upgrade. We also switched the closet doors for the white six panel style.

New tile floor

White closet doors
We added hooks on the wall opposite the closet. It makes it easy to hang up your everyday coat or backpack, while snow gear and other coats stay in the closet. A mitten drying rack sits under the window.

Part two of the renovation is to add shelving and/or cubbies. I like the idea of a small bench with room to store boots underneath. Pinterest has lots of ideas and I've posted a few inspiration photos below.


Simple Laundry Room / Mud room Cubbies:
Photo: Houzz.com
Mud room ideas:
I like the open shelves and lack of
full particions on the "locker" portion
Photo: Houzz.com

Mud room idea. Tall bench and hooks. Room for boots.:
Photo: decorandthedog.net


Taping off the walls to give an idea of spacing

We have the new bench frame installed. The topper is getting painted and sealed. Next we will add shelving and adjust the wall hooks to accommodate the bench.


Bench frame with room for shoes underneath