Thursday, December 27, 2018

Deck Overhaul: Final Photos

I am way behind in my posting and completely forgot to post the final pictures of our two year deck project! Due to the scale and the cost of the project, we split the renovation of our deck into two sections and called the project completed at the end of summer 2018. You can check out other photos from my previous post: deck-overhaul-phase-2

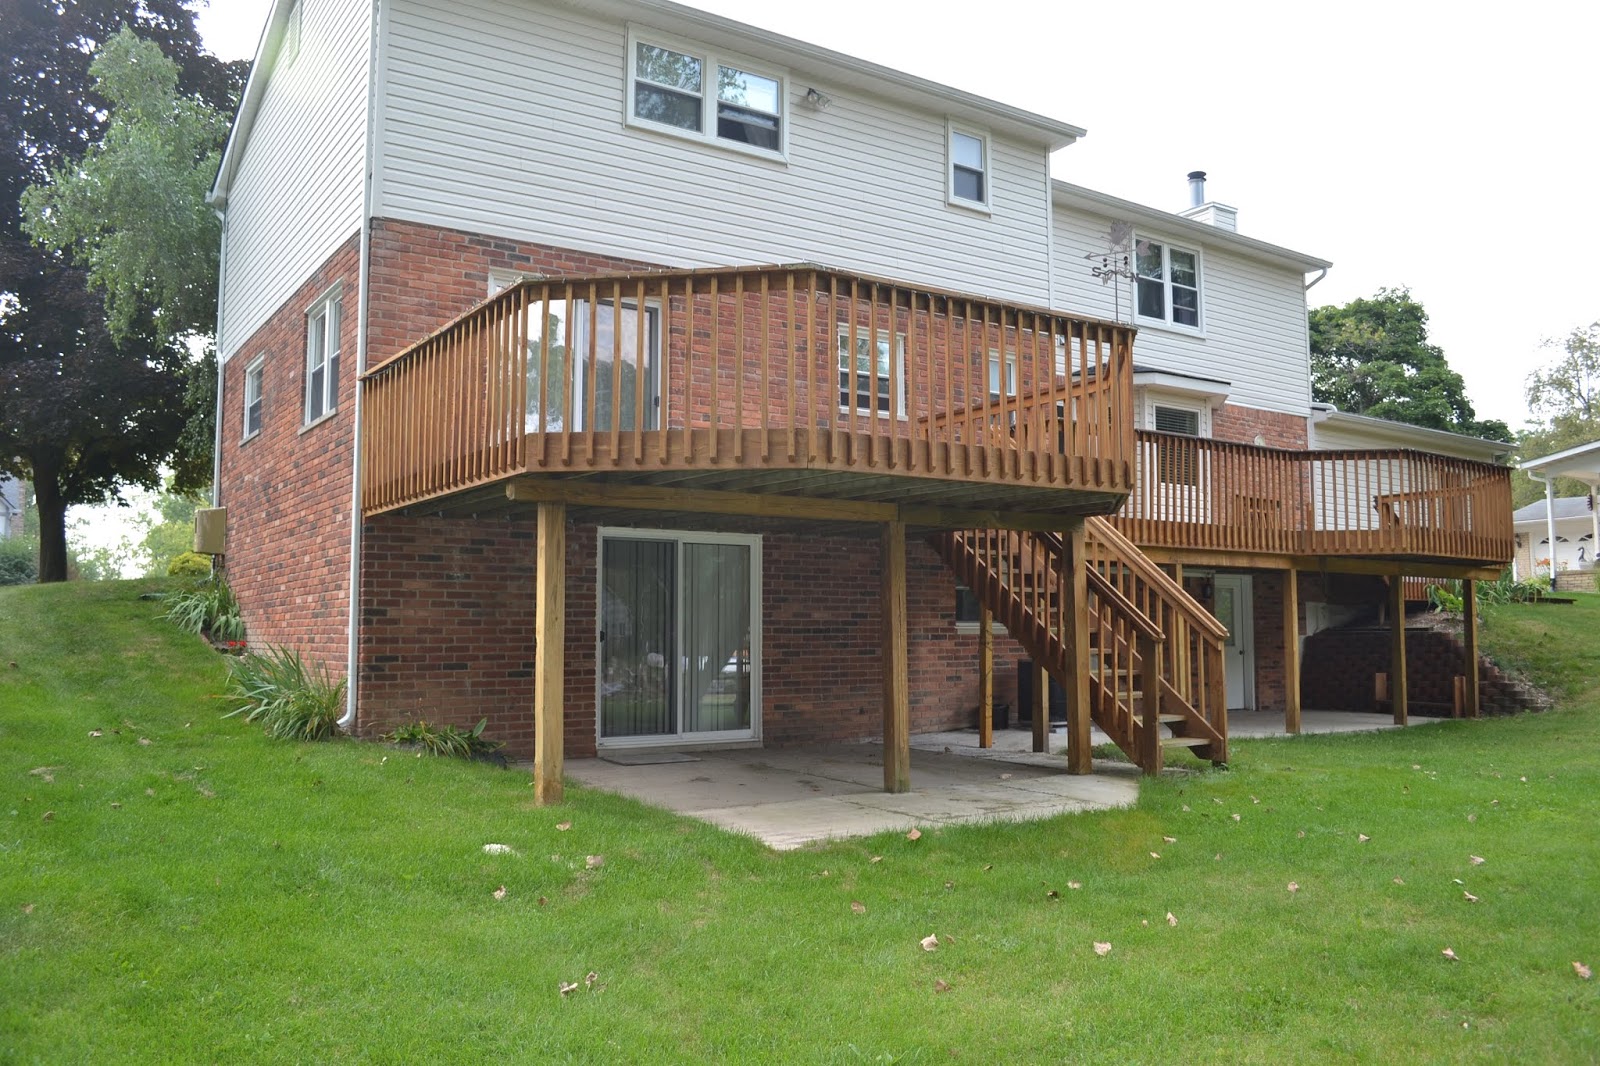
We have a massive deck and we hate maintenance. We hate hiring people even more. So we decided to convert all the cedar decking to Trex in a huge DIY project. We had Trex at our old house and we loved it, but didn't know (or were not given the option) to use Trex railing. Year after year we painted or stained that dang deck. Never again.
For our renovation we kept the layout and the support beams the same, replaced the surface cedar, and reworked the stairs completely because the rise was uneven. The last thing we wanted was for one of our guests to fall down our stairs while trying to get to the bonfire. 


Deck at the starting point


Project complete! 


Uneven rise on the stair steps
Aluminum no maintenance railing on the stairs


Covered the frame with Trex, added glass railings, painted the support beams


Reinforcing the support posts and covering with no-maintenance sleeves
Finished sitting area. Perfect to relax with a book and a drink. 


Two sections of the deck come together in straight rows
Dining area


Garage access and new landscaping


In an effort to reuse and recycle, we gave the usable deck boards to a family member to make a dock at their pond. The rest of the salvageable boards became a tree house! 


A two year project comes to a close. It was an investment in time and money but we plan to stay in this home for a while so we think it will all be worth it. The best part is the only maintenance required is a spring rinse off with the hose! 


Summer 2019: Added some bistro lights to the sitting area to better define the space. Its so cute! I'd love to get some big comfy lounge furniture but until they figure out a way the cushions can truly be "all weather," we'll have to stick with the mesh style. I'm not interested in hauling out and putting away cushions every day.


Kitchen cabinet upgrades

Updating the kitchen has always been high on our wish list but we knew it was going to be a MAJOR project so we had to make sure the time was right. The kitchen is functional but it's not very attractive and certainly not our decorating style. We've enjoying having an island (even if the counter top is too small to sit at without bumping your knees) and there is plenty of cabinet storage space.
Move in day
The cabinets are in good shape and we like the style of the door fronts. The flat panel pantry door had to go, as well as the old oven and dishwasher. We've already changed out the linoleum flooring for dark Pergo throughout the entire first floor.

Normally I'm the idea person for the renovations and D is the person who executes them, but this time the project is mostly mine. I found a local cabinet and furniture refinishing company to take the all kitchen cabinet doors to give them a professional spray finish. With the beveled edges, I wanted to make sure the finish was very even and having a professional complete the work would ensure a high-end look. As part of the renovation package, they gave me professional cabinet paint to use on the cabinet frames for my DIY portion of the project. 
Mini island near the mud room
I decided to start on a small area- the mini island which serves as a "catch all" near our mudroom. I also made the decision to paint the interior and the exterior of the cabinets. It takes significantly more time, but I believe the result is more finished and complete. 

Starting with the primer
The process is quite lengthy- Remove items from cabinet. Use degreaser and clean the insides and outsides. Sand all areas to be painted and vacuum the dust. Use 2 coats of primer, sanding and cleaning in between coats. Don't forget the shelves. Do 2 coats of cabinet paint, sanding and cleaning in between coats. I ended up adding a third coat to just the outsides of the frames to give it a nice even finish. Yes, that's five coats of paint.

2 coats of primer
Finished!

Mini island- painted inside
Next we moved on to the upper cabinets near our pantry. Part of the renovation includes closing the gap between the cabinets and the ceiling. The distance is less than 12 inches. Not big enough to add functional doors, but large enough to collect a TON of dust. Achoo!

D is back on the job for this portion of the kitchen. He built a box to fill in the distance from the cabinet to the ceiling. We chose small trim pieces to give some visual interest and crown molding will be added at the top before we're all done. It's amazing how much taller the ceiling feels by taking the cabinets all the way up. 

Our island is made up of 3 cabinets with unfinished edges and back. D is working to add trim on each side to match the rest of the cabinets. 

Island- adding trim

Side of the island
I'm now working my way around the kitchen. The back of the island has primer but I still need to empty and clean the cabinets. The boxes are going up above the rest of the upper cabinets but they still need trim work. We also have to move the non-working smoke detector which was installed above the stove. We found out it was never connected because..well, only an idiot would install a smoke detector above an oven.
Messy but coming along. Don't you love our open shelving? :)
I'm about 1/3 of the way done with the kitchen. The pull out drawers take the longest to paint because of all the different sides/edges and the drying time required. However the transformation is amazing and our kitchen looks significantly larger! 
Now...what kind of counter tops?  

Before and After


Cabinet Paint: SW 7005 Pure White


Saturday, July 21, 2018

Death of the Blue Carpet: Final Reveal


When we purchased the house we knew the blue carpet was going to be ripped out as soon as possible. Unfortunately there were other projects that took priority because changing the flooring on the entire first floor of the house was going to be a huge project. We made do by covering up some of the carpet in the family room area with a large rug. In the dining area, under our table, we vacuumed. A lot. Carpet in the eating area, especially with kids, is so gross. But I will say it was nice to not worry when guests spilled on the floor- oh no, not on my precious carpet! Ha!
Move in day
Move in day with yellow paint and blue carpet


At two years. What a difference with the new fireplace stone and the built-ins.
Blue carpet remains but it's getting better. 
As is the case with most projects, the prep work was the longest portion of the project. Carpet and padding was removed. Subfloor repaired and screws added to stop any squeaks. The floor was leveled with liquid leveling material (application + dry time). Any thresholds between rooms were taken out. (Insert applause!)


In the far right of the photo you can see the threshold between rooms.
It was huge! I hated it. It was easy to catch your foot if you didn't time your steps out.
 Turns out there was really no reason for it and we removed it. So typical in this house.


And now it's finally time for the "before" and "afters." Let's start with the hallway.


About a year ago, widening the doorway. 

Today: wider opening, consistent flooring.
Still need to finish the floor molding. 

We have an odd area between our office and powder room. We don't need another sitting area and the window makes it difficult to turn into a closet. We decided to make it our toy storage area...and now a computer desk for the kids chrome books. By adding a narrow long desk, charging strips, and recycling our dining room chairs, the kids have a place to keep their chrome books that is not my kitchen table. We haven't painted that area yet and we'll eventually make the area on the left built in storage. It's tricky because some of the old plumbing remains under the trim.
Small space between the office and powder room


Now, let's check out our front room. It's the room that has both the front door/guest entry with coat closet and the stairs to the second floor. Right now we use it mostly to play the wii or lay out large toys. It's handy when we have guests because the kids can be in the front room while the adults are in the kitchen/tv area. 


Still working on storage for things..but you know...kids.  *shrug*

We tried painting the french doors which lead to the office but once we removed the doors, we decided we really liked the space better without them! The new plan is to add barn doors that stack and slide to the side. We'll leave them open most of the time but close it when we have guests. We also re-arranged the office to be more craft-project friendly. 
 
Soon to have sliding barn doors


Curtains removed. Bay window painted white.
Still working on lighting for this room. There are no overhead lights. 
No transition between the rooms. YAY!


Now on to our family room/TV room. This is a space that has our eating area and our main TV, fireplace, couches, etc.

Move in day
Today

Hubs was so smart, he left room under the stone to slide in the new flooring. 
No more blue carpet in our eating area!
Floor looks a little red toned here but it's more brown with some "roughened" planks

Family room- all finished!


I've been behind in my posting so I need to catch up with the final reveal of our deck. But here's a teaser for our next big project...